ENG
ENG


Overview
This article explores single and dual impression post & core restoration case examples. We used an AutoScan-DS-EX Pro blue light 3D scanner with exocad software. Since exocad does not feature the post & core design process, we defined the restoration type as a telescope crown. This helped avoid undercut.
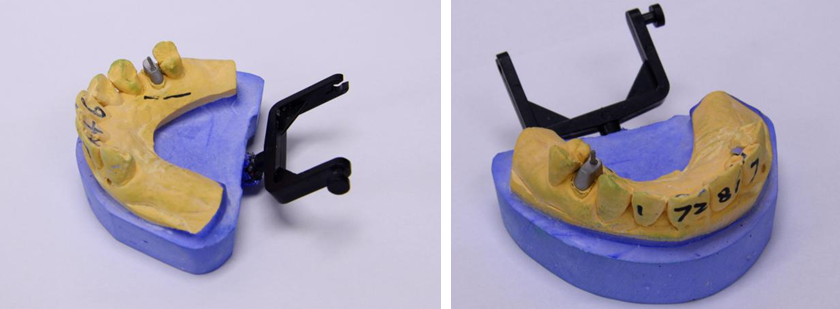
Single Post & Core Case Study
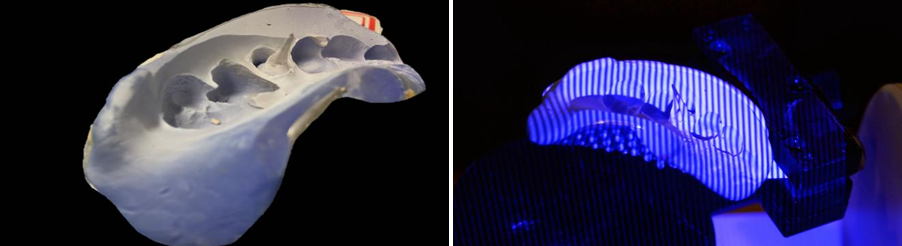
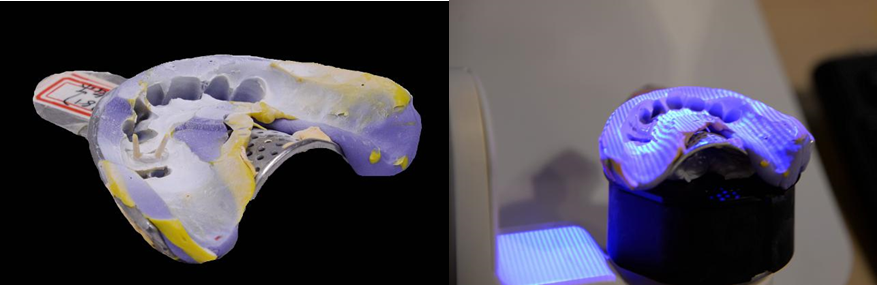
1. Single Post & Core impression Scan
Scan the single Post & Core impression with DS-EX 3D scanner and get the scan data.
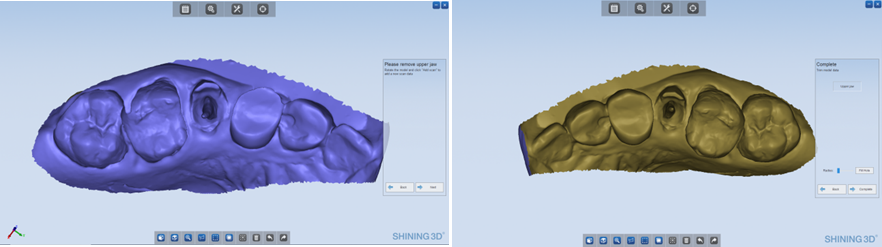
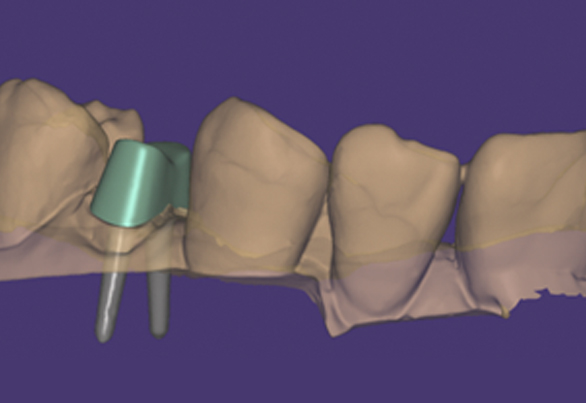
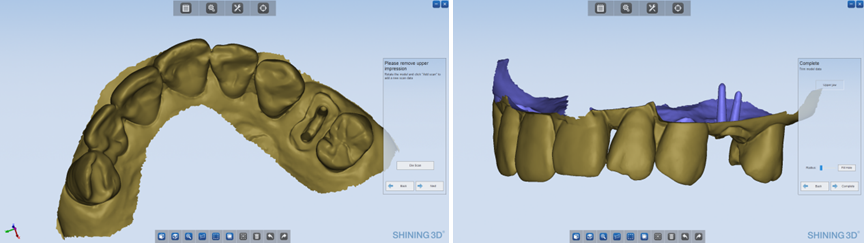
2. CAD Design
Import the scan data into exocad directly and start designing.
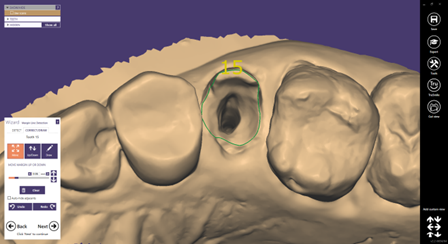
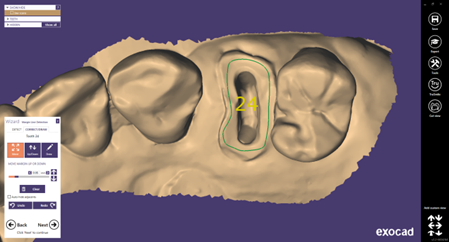
1.Drawing Margin 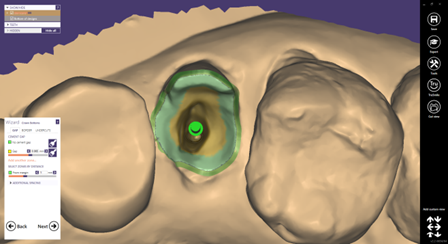
2.Set Bottom Parameters 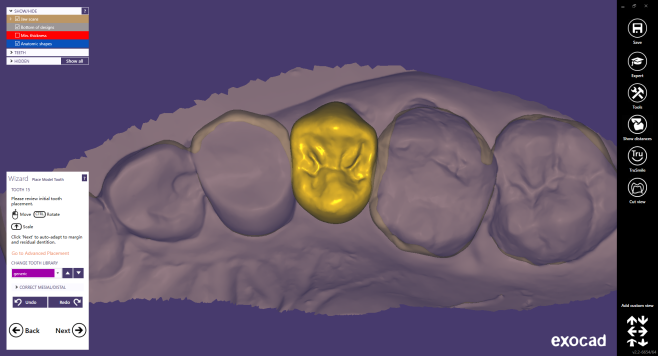
3.Set Tooth Position 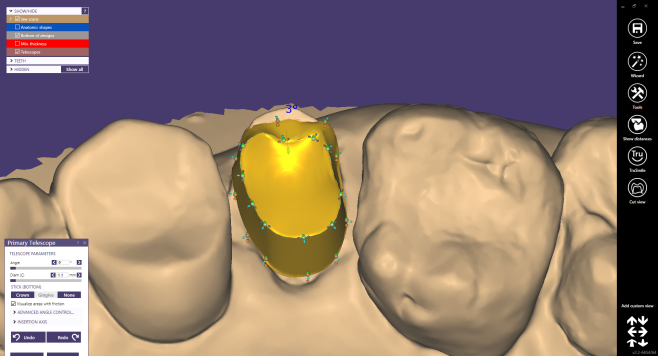
4.First Layer Telescope 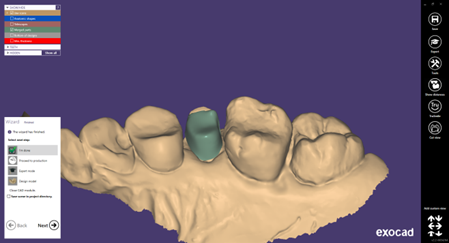
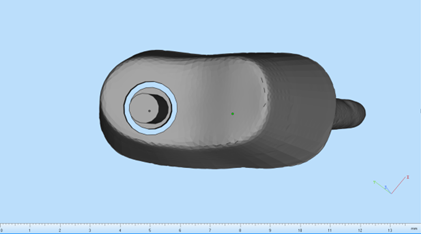
5.Finish Design 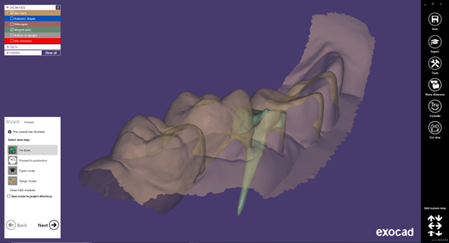
3. Printing
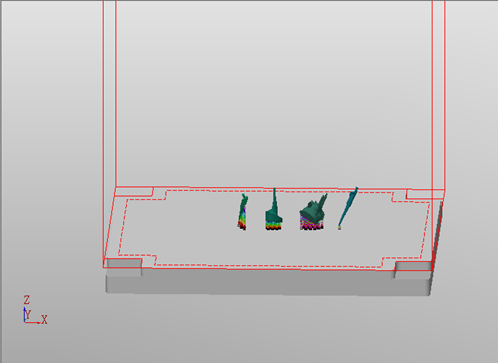
1. Setting 
2. Printing 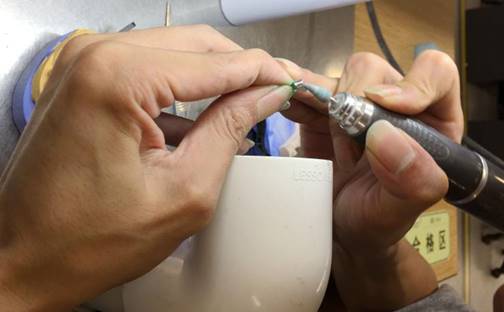
3.Use line cutting to cut the post&core from the metal plate. 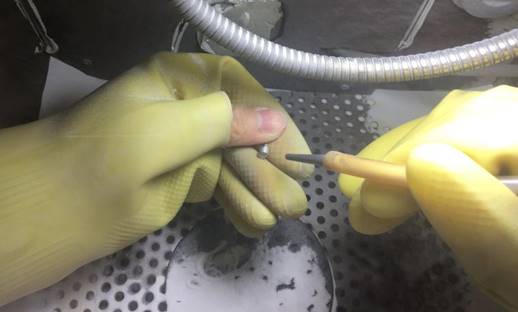
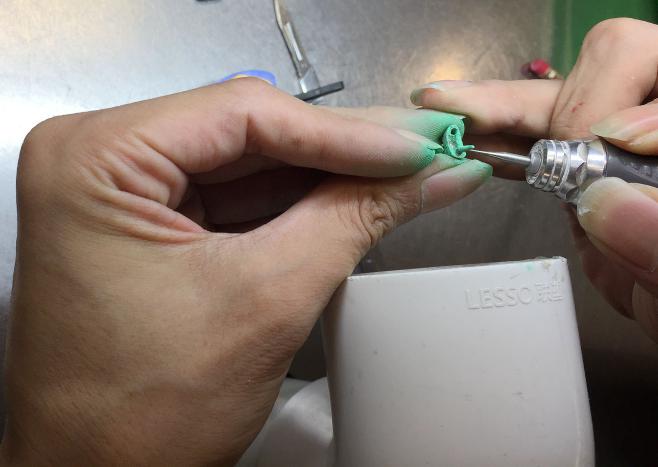
4.Then polish the Post&Core and blast it.
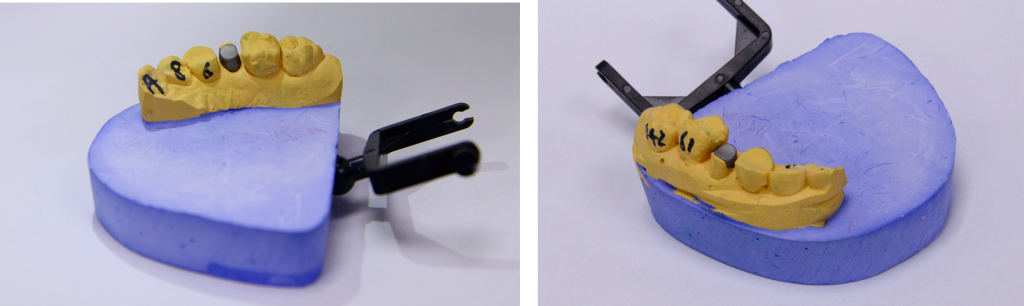
4. Try-in
Dual Post & Core Case Study
1. Impression scan
Scan the impression with DS-EX scanner and get the scan data.
2. Design
Import the scan data into exocad directly and start designing.
1. Drawing Margin 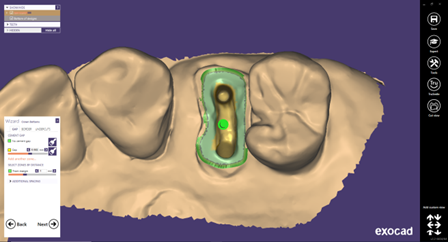
2. Set Bottom Parameter 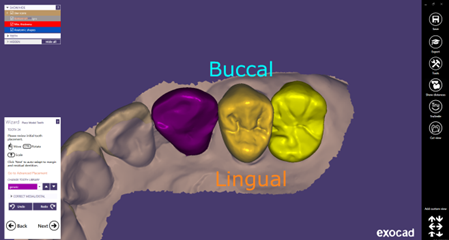
3. Set Tooth Position 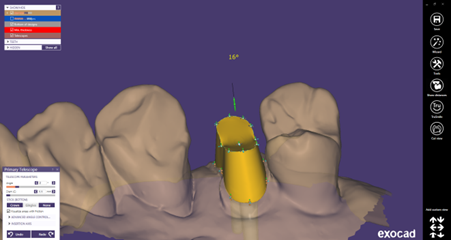
4. First Layer of Telescope 
5.Finish the design 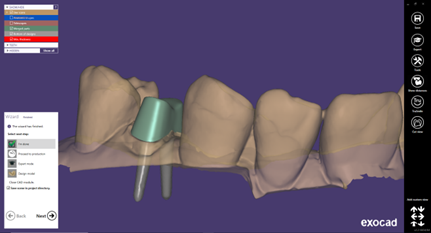
6.Separate the Post&Cores
Use Magics software to design the finished data to seperate the post&cores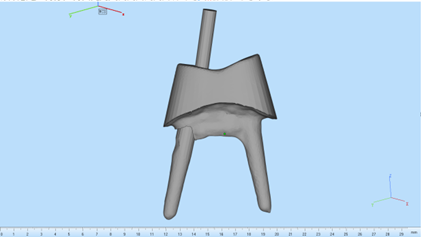
3. Printing

1. Setting 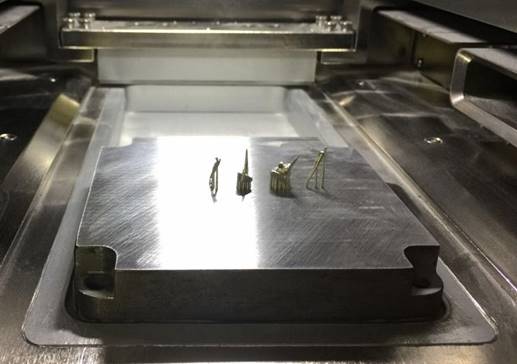
2. Printing 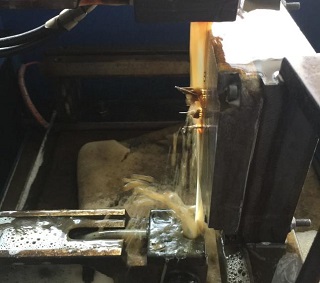
3. Use line cutting to cut the post&cores from the metal plate 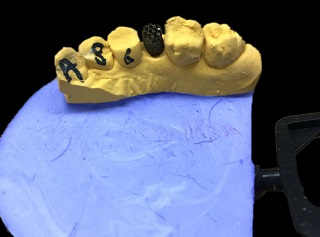
4. Metal finishing 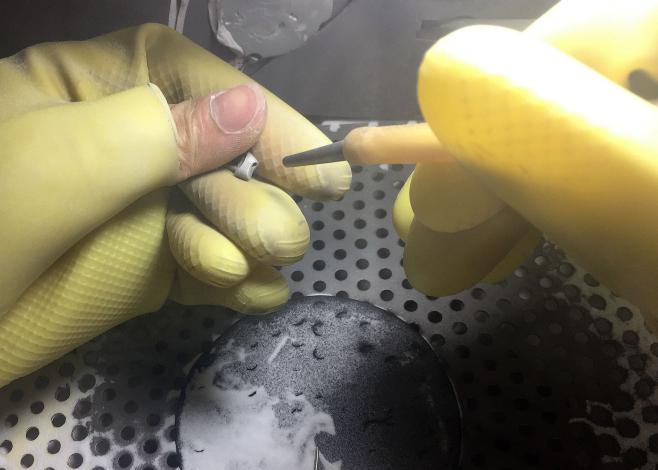
4. Try-in