Case Profile
A removable denture is easy to break after long-term use due to the change of periodontium and alveolar ridge. The fatigue of metal, improper use, or a defect in the design may lead to the breaking, damage, improper fit, and bad occlusion of the denture.
In today’s case, an 85-year old female came to the dentist, asking for help. She was an edentulous patient who had been wearing a removable denture for a long time. Currently, she had found the old denture was wearing off and could not support her daily chewing and occlusion function.
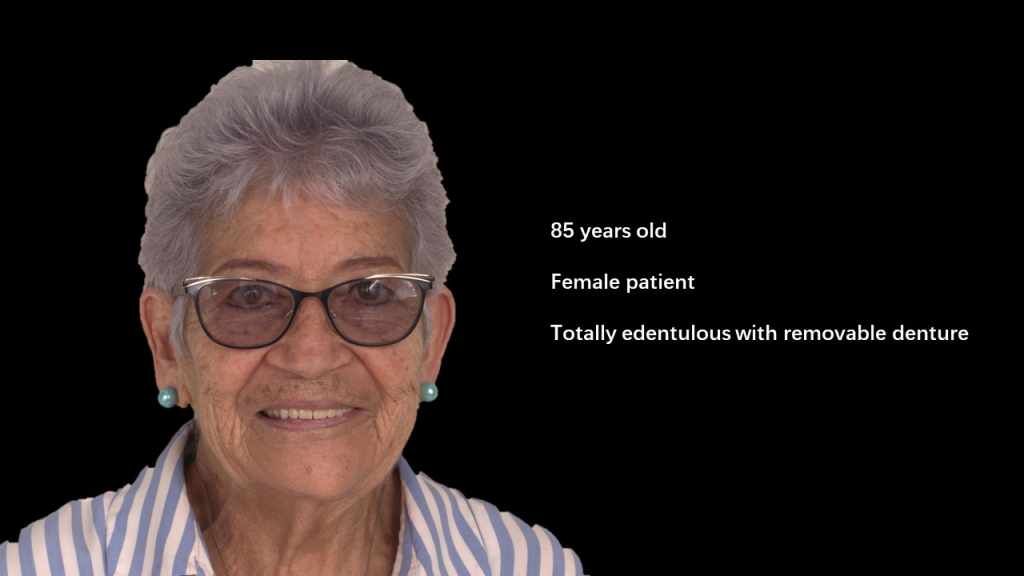
Fig 1:Case profile
Case Analysis – DSD Simulation
Upon her arrival, the dentist took a picture of her face, and performed a DSD simulation to help the patient choose the teeth shape she preferred within the software to inspire her confidence in the outcome of the treatment results.
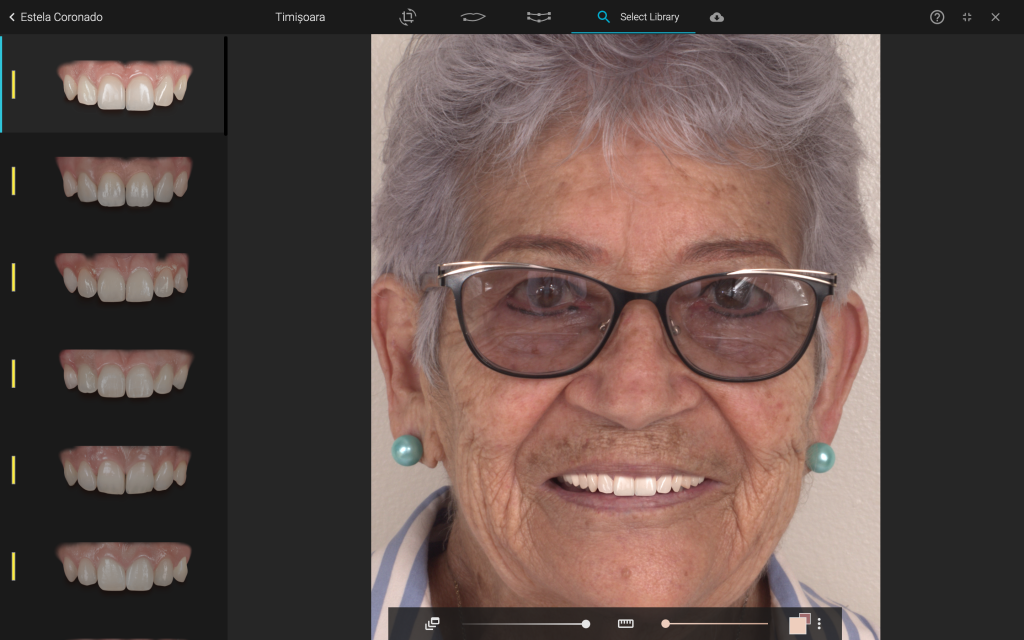
Fig2:DSD Simulation
Treatment Plan
The goal of this case is to improve the occlusal function and aesthetic outlook for the patient. The patient was looking for a more economical option when considering treatment, so the final treatment plan was decided to have an all-on-4, screw-retained, full denture on the lower jaw, and have a removable denture on the upper jaw.
Case Analysis – Data Acquisition
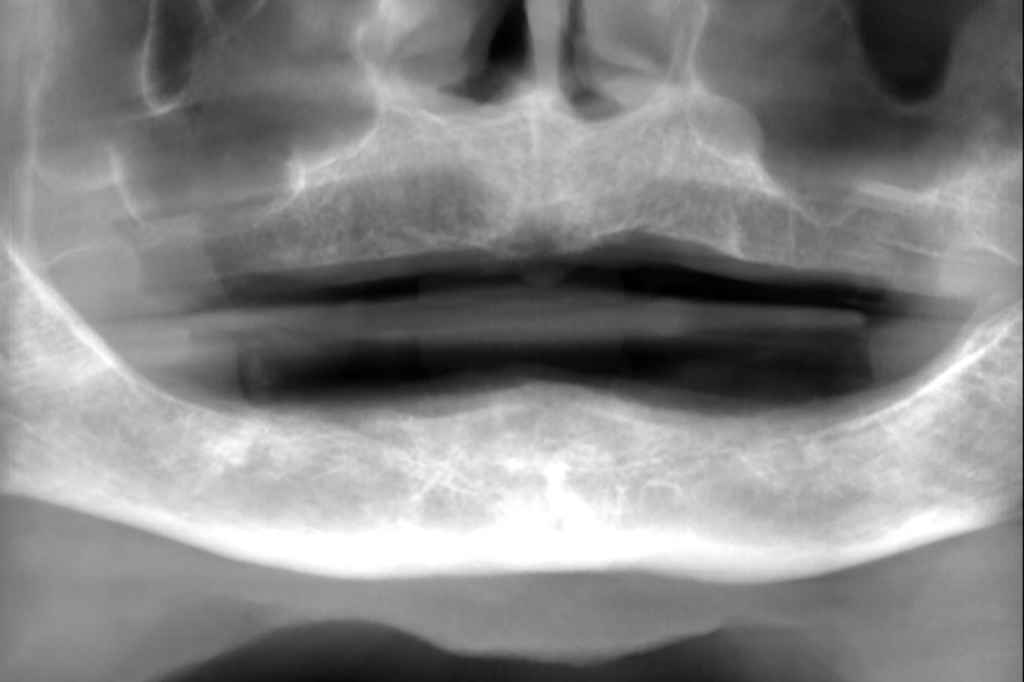
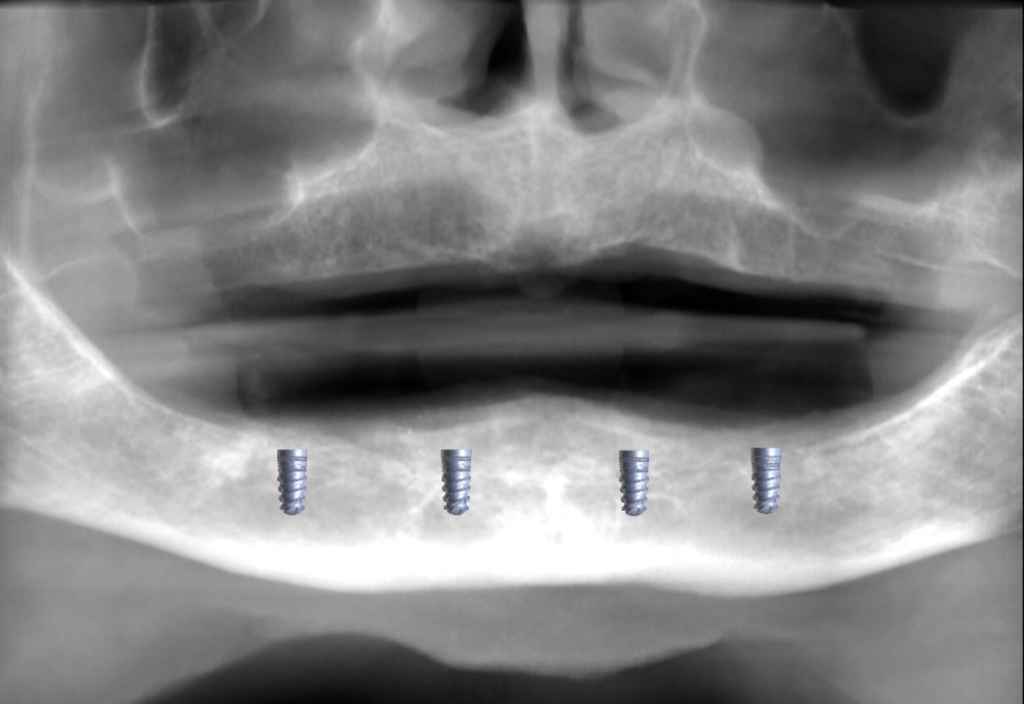
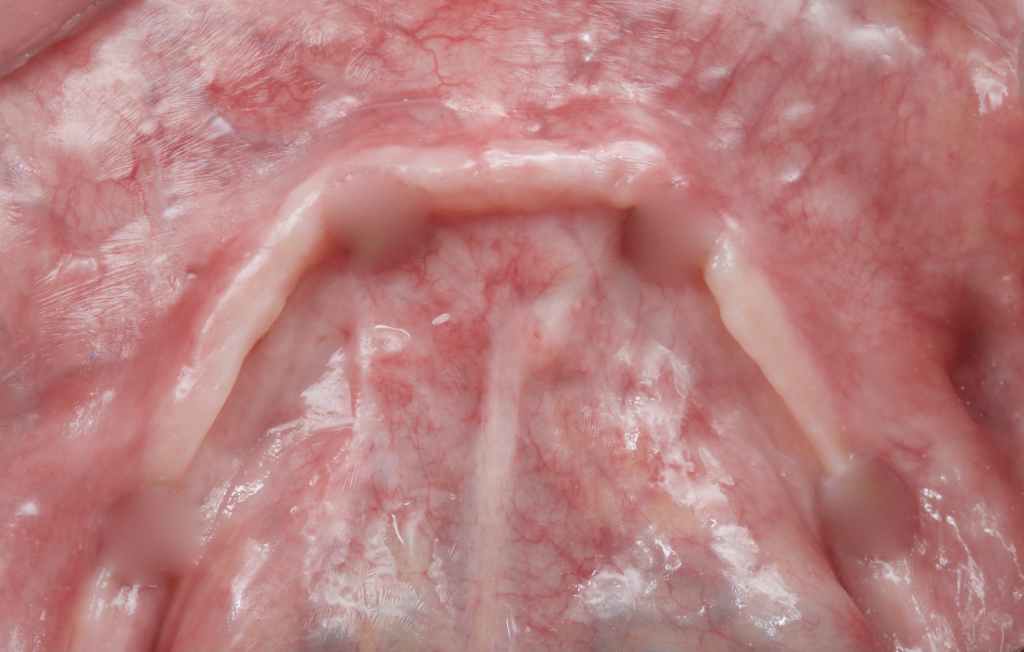
Viewing the radiograph, it can be seen that all of the lower teeth were missing. 4 implant bodies are planned to be implanted into the lower jaw. The dentist used the SHINING 3D Aoralscan 3 to capture the intraoral data of the patient in just one minute. The accurate data would prove helpful when designing the surgical guide.
Fig 3, 4: The radiograph shows that all of the lower teeth were missing and 4 implant bodies were planned to be implanted into the lower jaw.
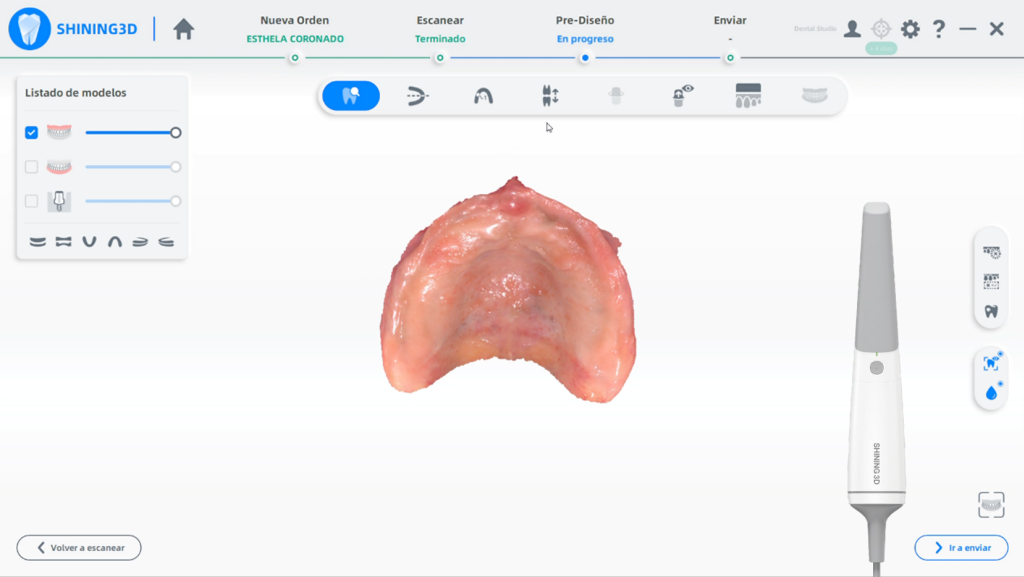
Fig 5: Upper jaw data scanned by Aoralscan3
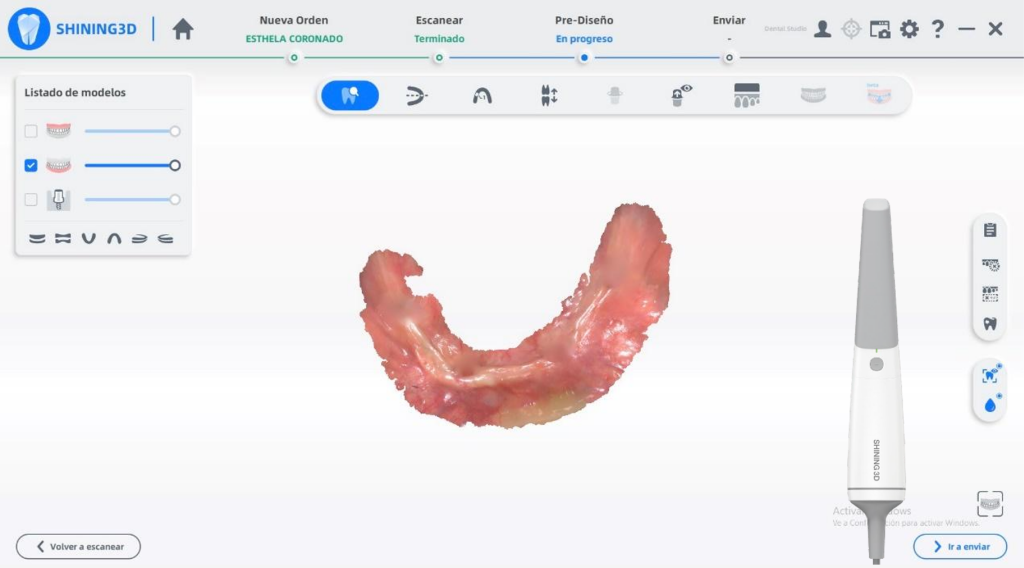
Fig 6: Lower jaw data scanned by Aoralscan3
Treatment Process – Surgical Guide Design, Printing and Implant Surgery
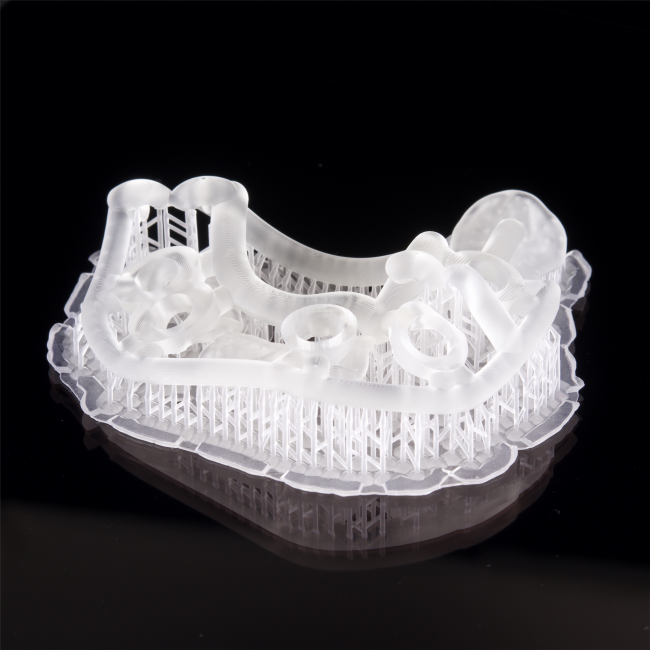
The implant guide can be used to determine the height of the osteotomy required for surgery, as well as the direction, and the length of implant placement. This increases the accuracy and success rate of the implant surgery. After designing the surgical guide, the dentist printed it using an AccuFab-L4K, with SG01 resin. With the help of the implant surgery guide, the surgery was carried out smoothly, and the implant bodies were implanted into the planned position with good direction and depth.
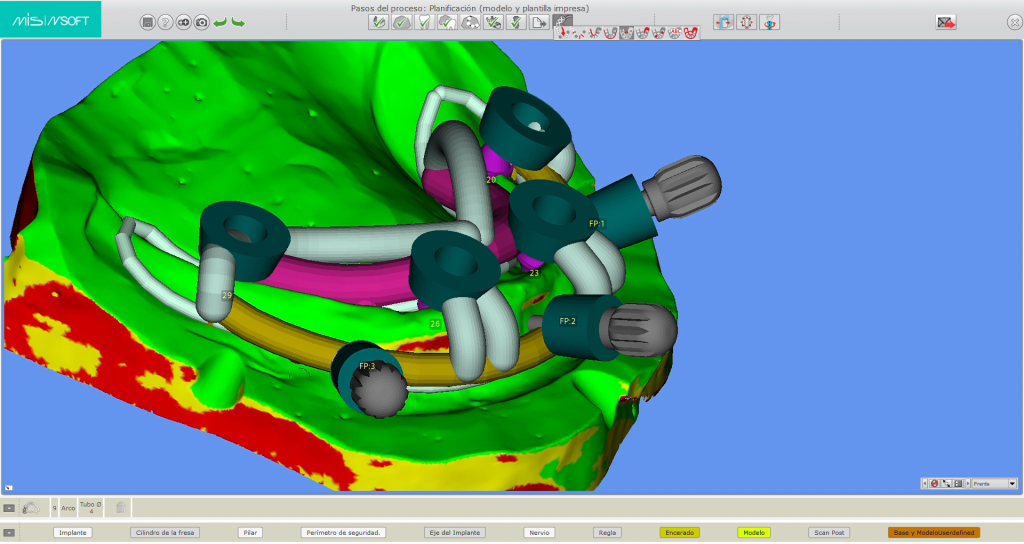

Fig7,8: The design process of surgical guide.
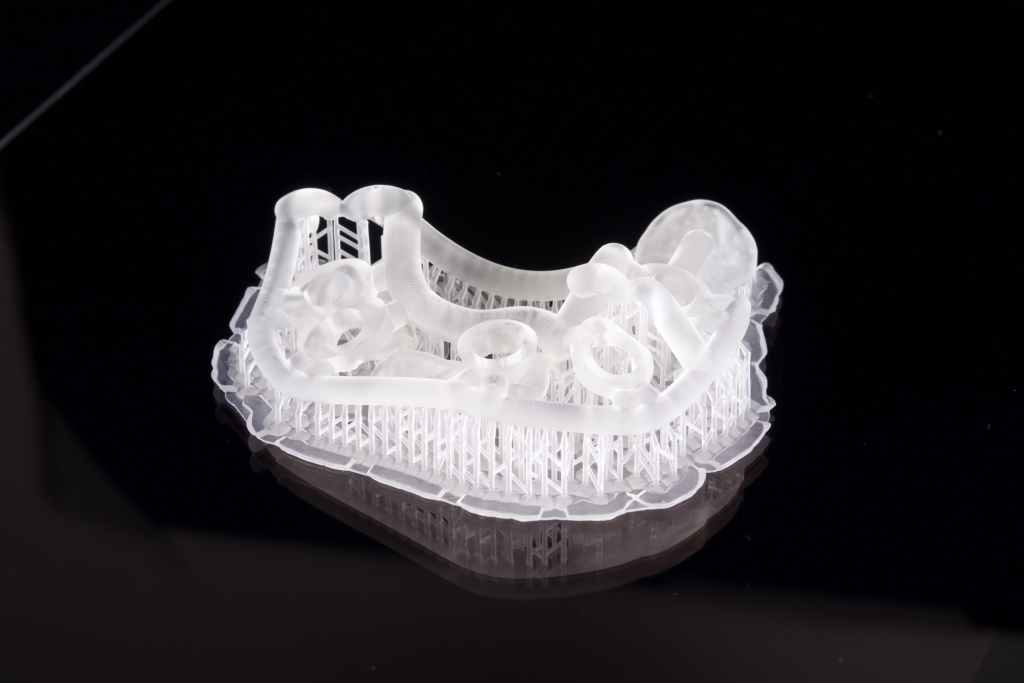
Fig 9: The surgical guide was printed by AccuFab-L4K produced by SHINING 3D.
Fig 10, 11: Before implantation & After implantation of four implant bodies.
Treatment Process – Scan after Implantation and Implant Bar Design and Installation
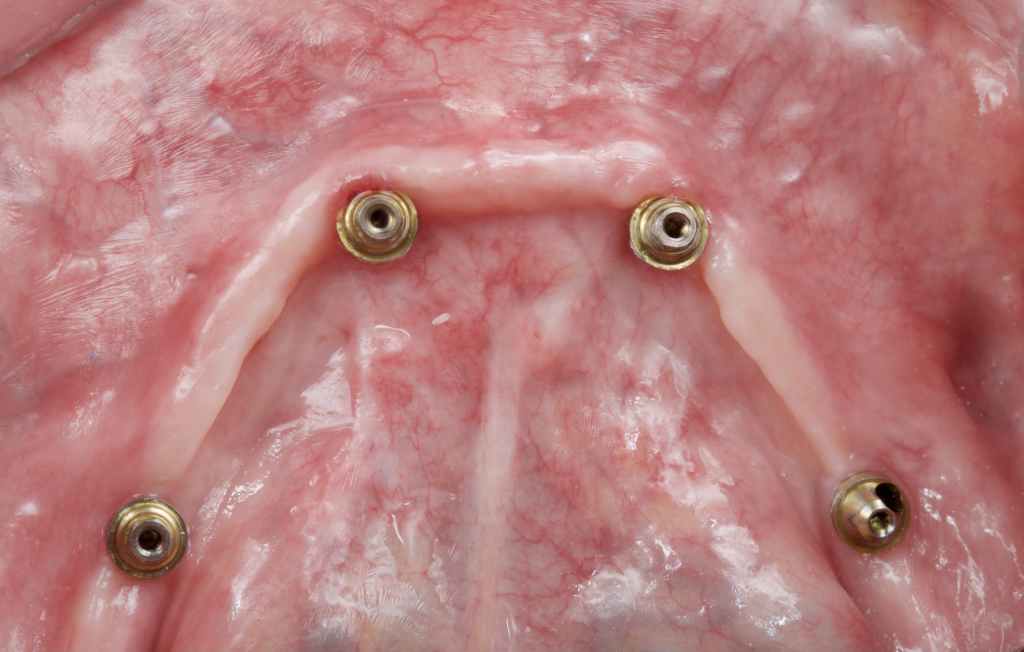
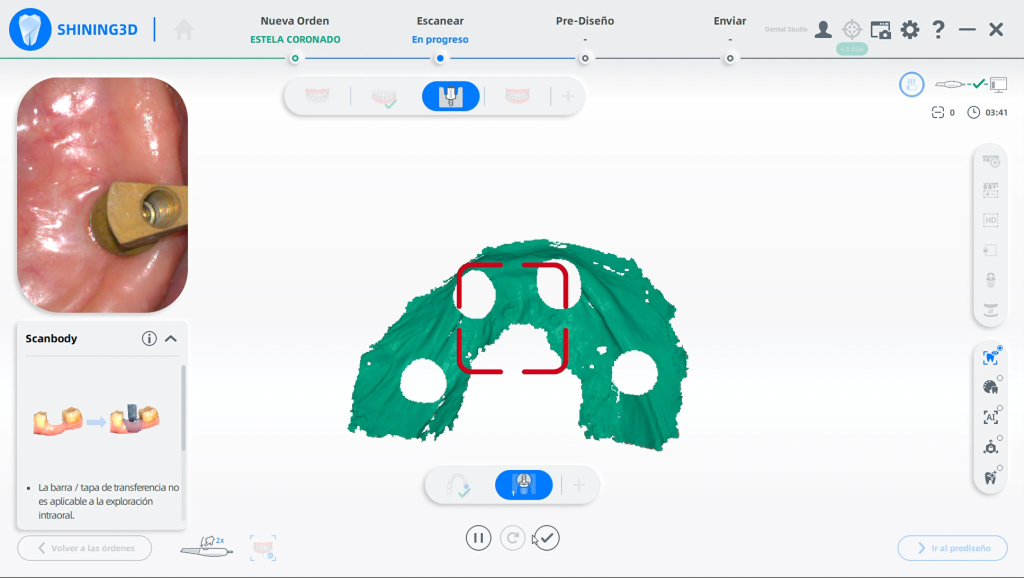
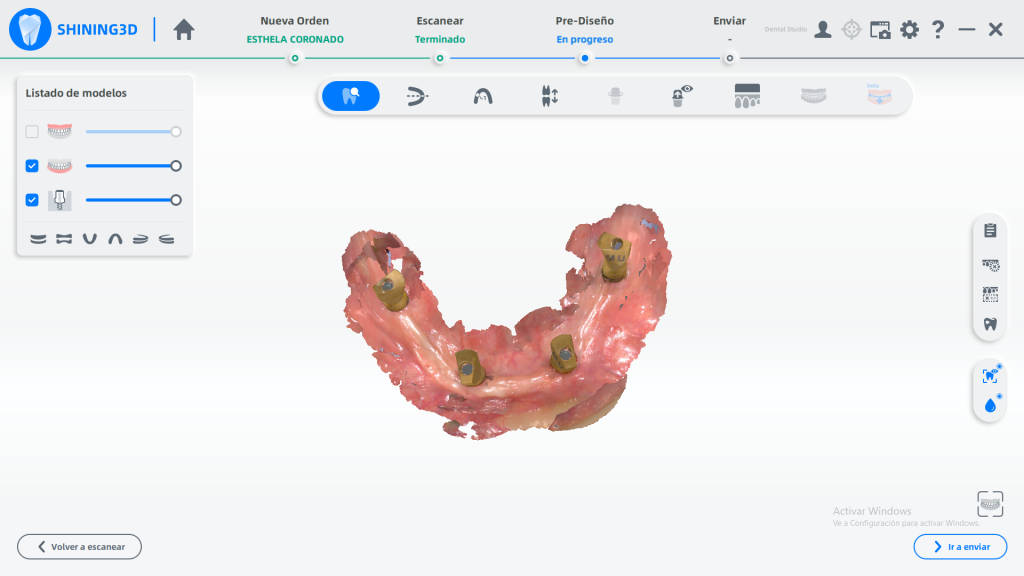
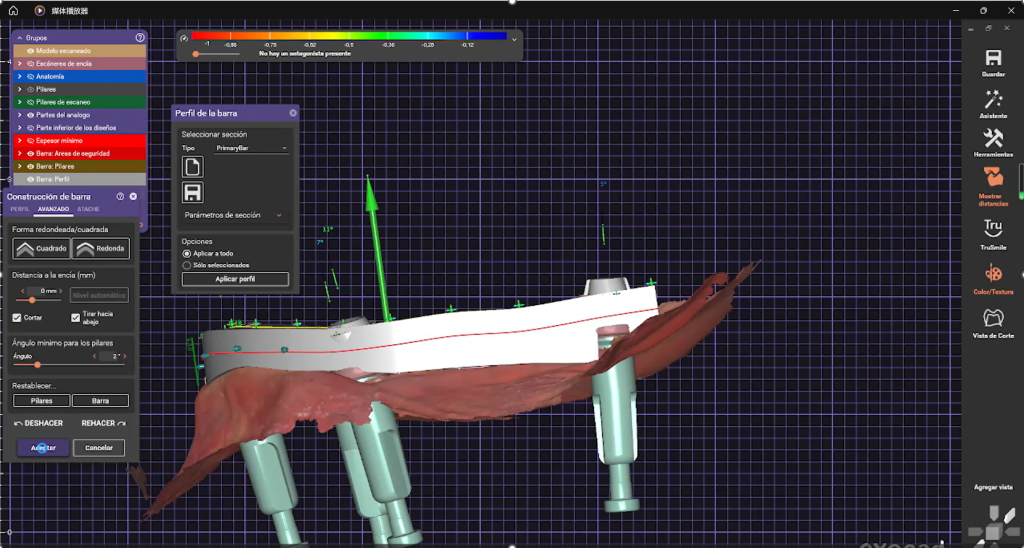
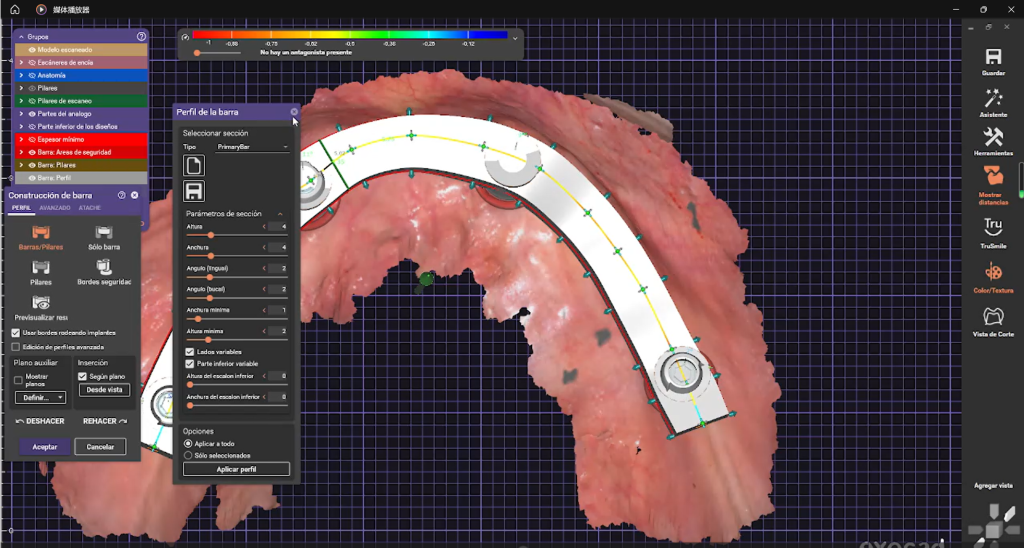
After the wound from the implant surgery recovered, the osseointegration was done, it was then time to move forward with the upper restoration. First, it was necessary to recapture the intraoral data and import the scan into the dental design software and design the bar. The bar was manufactured with a milling machine and fixed into the patient’s mouth. The dentist took a panoramic radiograph to make sure the bar was in position completely.
Fig 12,13: The recapture process of intraoral data after implantation
Fig 14, Fig 15: The process of designing the bar in the dental software
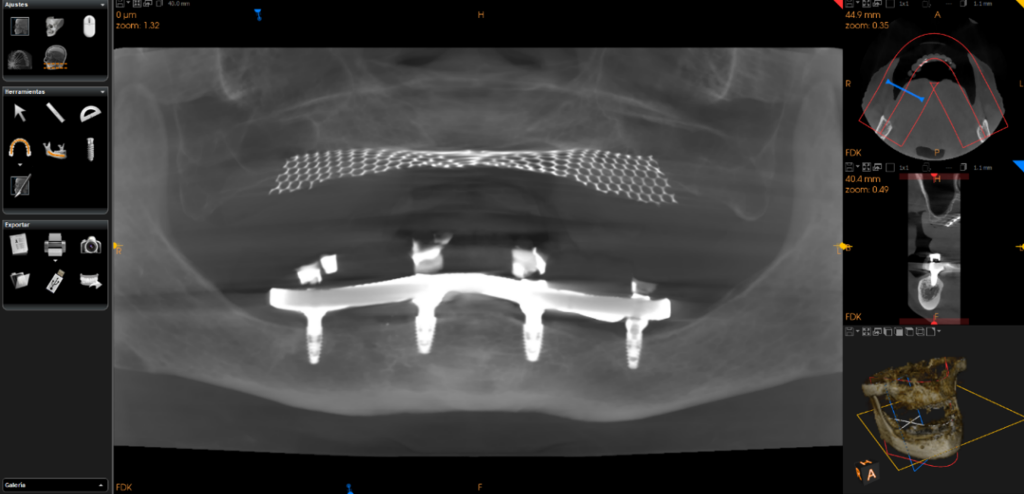
Fig 16: After fixing the bar into the patient’s mouth, a panoramic radiograph was taken to make sure it is in position completely.
Treatment Process – Full Denture Delivery
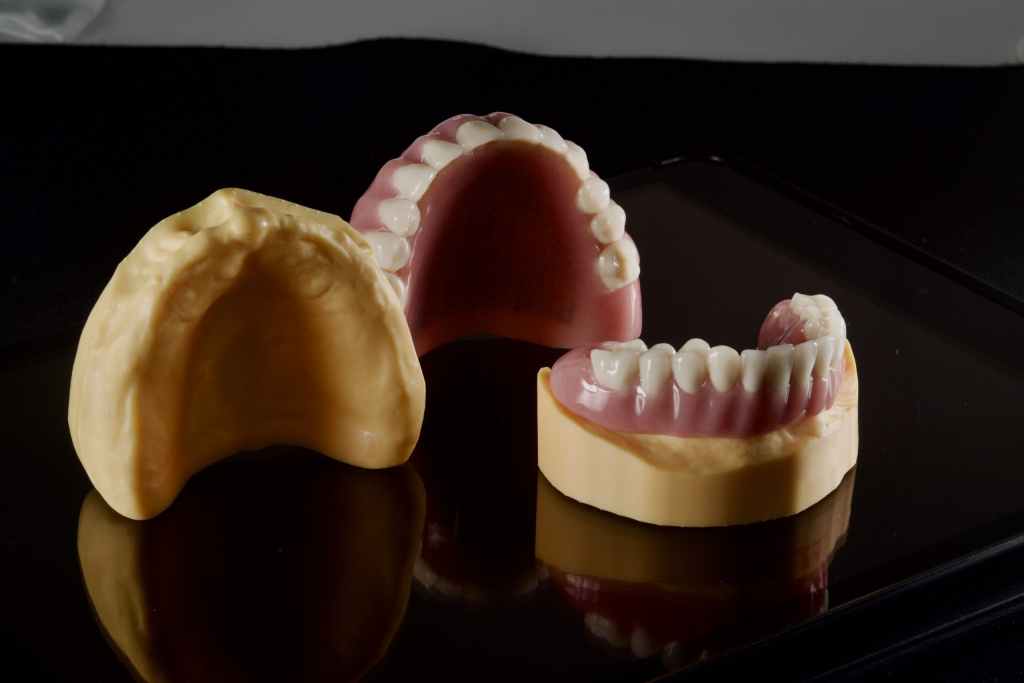
The last step is to have the full denture designed and manufactured. It was designed based on the DSD simulation and the patient was satisfied with the final result.
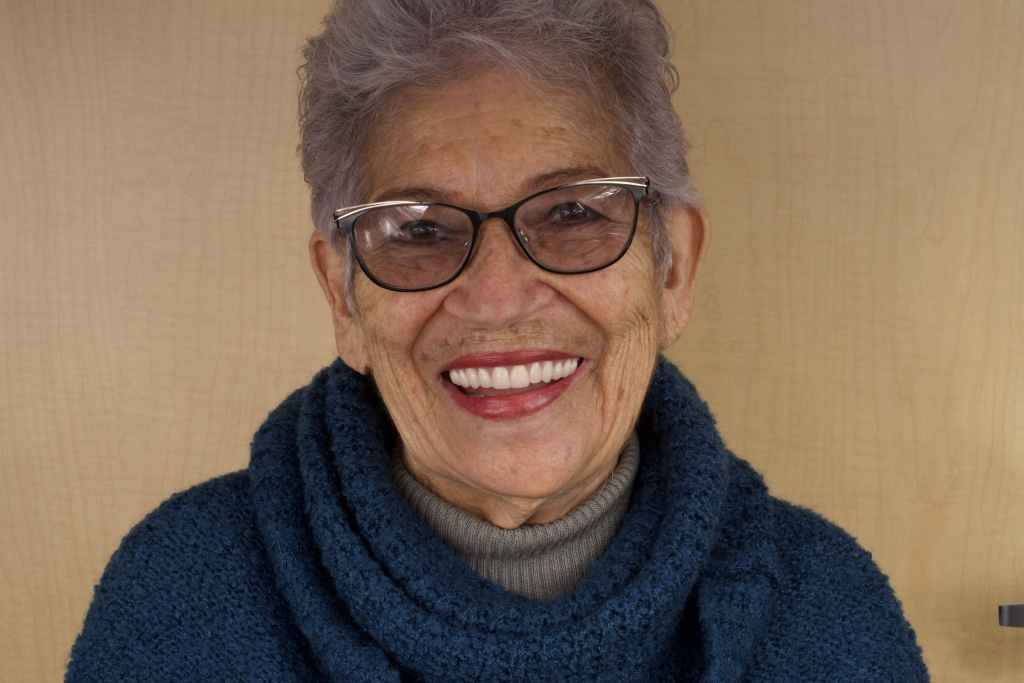
Fig 17,18: The final full dentures and the face photo after treatment.
Case Summary
Edentulous patients have great difficulty in achieving comfort, aesthetics, and function using conventional full dentures. The use of total prostheses screwed to 4 implants has become popular recently, as it is an efficient way to restore aesthetics and functionality to totally edentulous patients. In this case, due to the prolonged treatment and multiple steps, controlling the deviation to a minimum is most important for the accuracy of the final results. The use of the Aoralscan 3 intraoral scanner and the AccuFab-L4K 3D resin printer revolutionized modern dentistry, making the workflow simple and precise.
About Author
- Dr. Luis Estuardo Pacheco
- DDS., MSc.
- CEO at Dental Studio, Guatemala.
- Senior CAD/CAM consultant, Scientific Team Lab(STL), 3D Labs CAD/CAM Laboratories, Guatemala.
- Senior consultant in oral and maxillofacial radiology at 3D Xray, Guatemala.
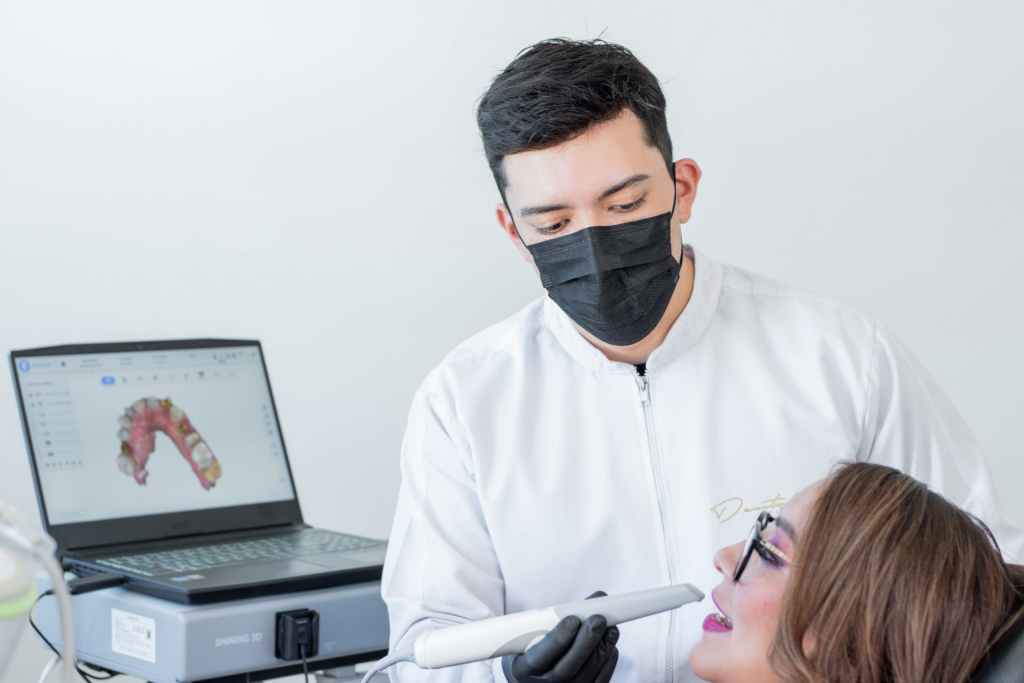
Fig 19: Dr. Luis Estuardo Pacheco
 ENG
ENG


