 ENG
ENG


Each year, dental professionals fabricate millions of crowns and bridges for their patients. As this number increases, so does the need for cost-efficiency, which traditional methods now struggle to provide.
SHINING 3D is excited to introduce a more cost-efficient and scalable workflow which will help dental labs carry out digital transformations with higher efficiency and quality.
Let’s take a look at this workflow through this digital wax-up bridge application case study.
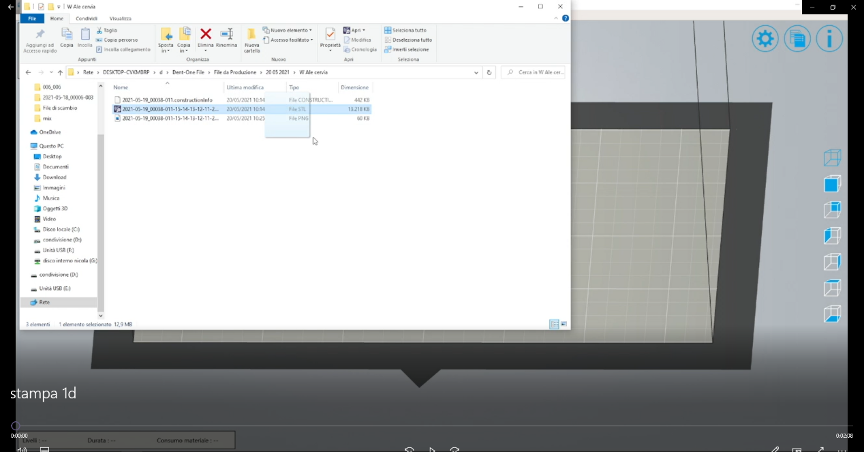
First of all, we need to scan the model with DS-EX scanner & design the bridge with EXOCAD, and then import the digital bridge into SHINING 3D’s 3DDlp slicing software.
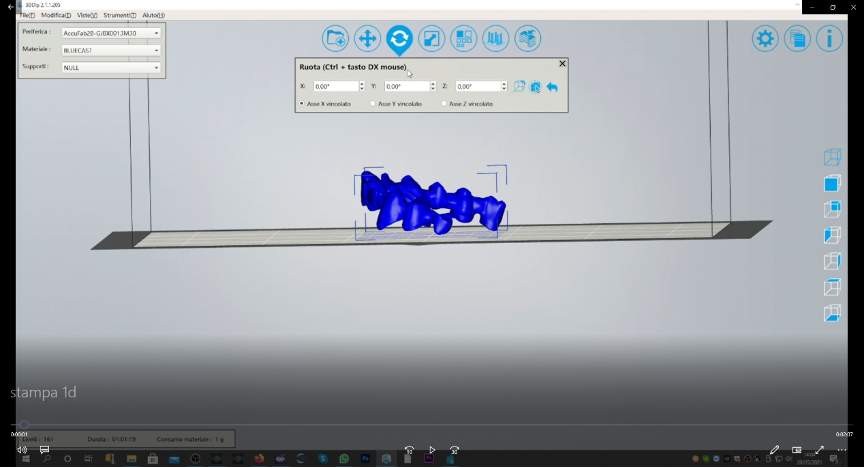
Then, we adjust the position of the imported bridge into the slicing software.

After that, we can edit the supports of the bridge.
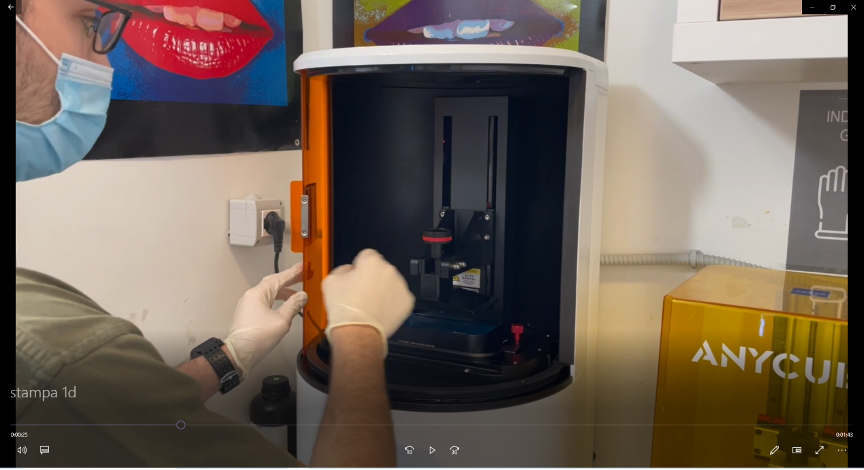
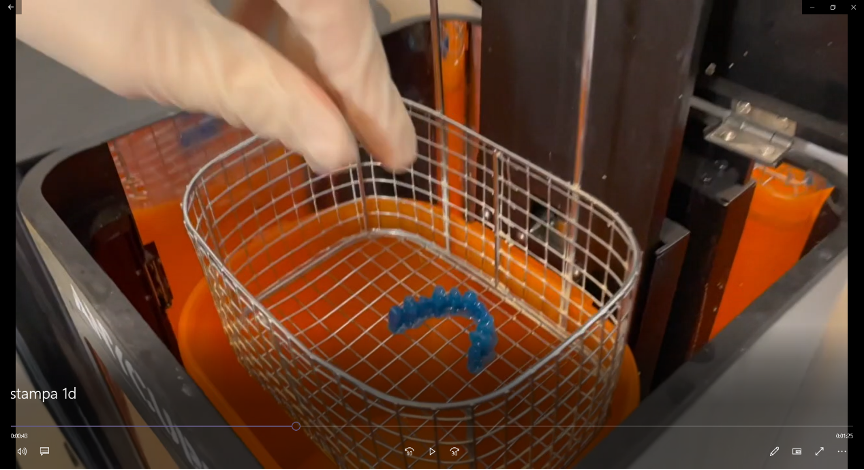
It’s then possible to 3D print the sliced bridge with the AccuFab-D1 3D printer and remove the digital wax-up bridge once complete.
Place the wax up bridge into the alcohol to clean the residual material.
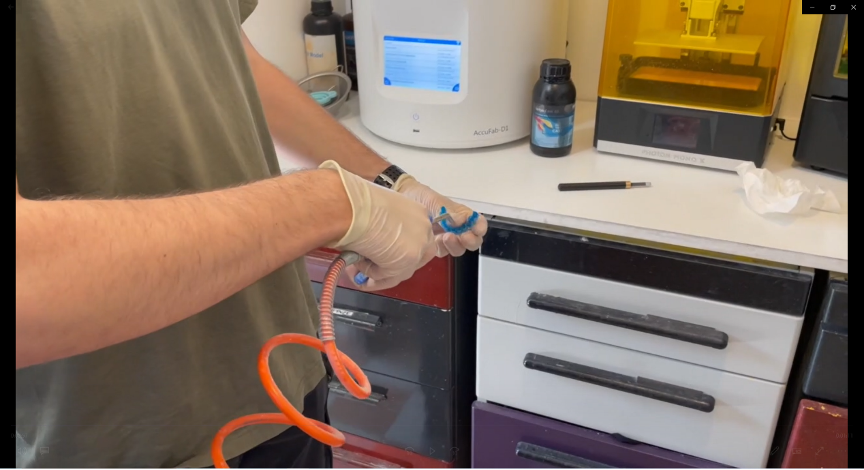
Continue to dry the bridge and do the subsequent light curing.
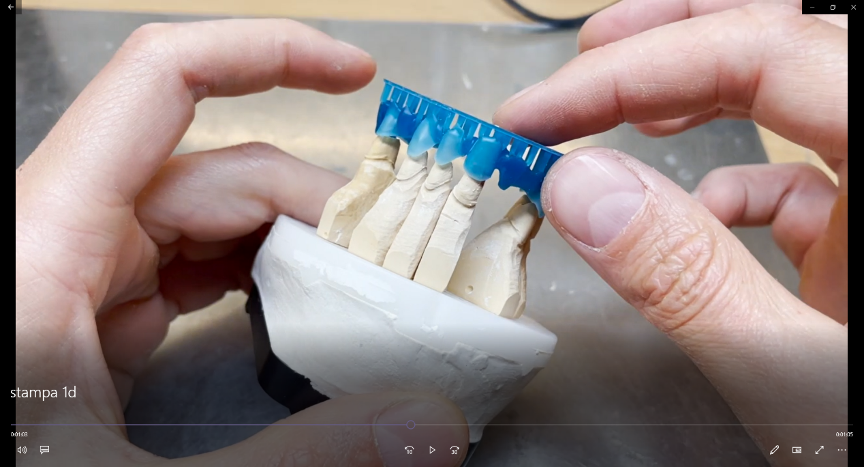
Try the wax up bridge on the model, we will find that the bridge,especially the margin line,will fit perfectly on the model
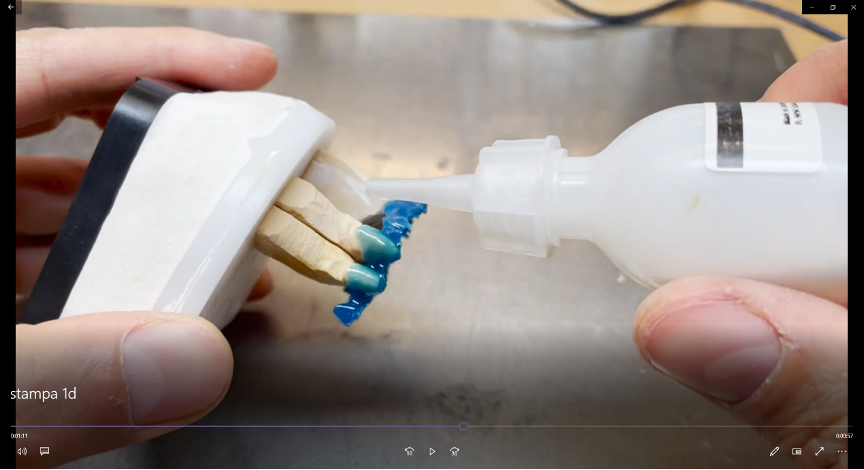
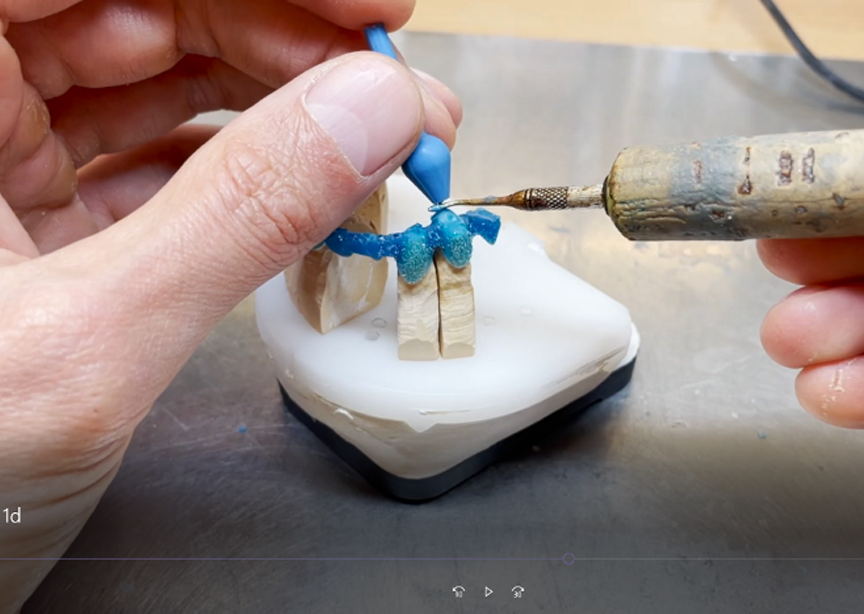
Sprinkle retention beads on the surface of the bridge.
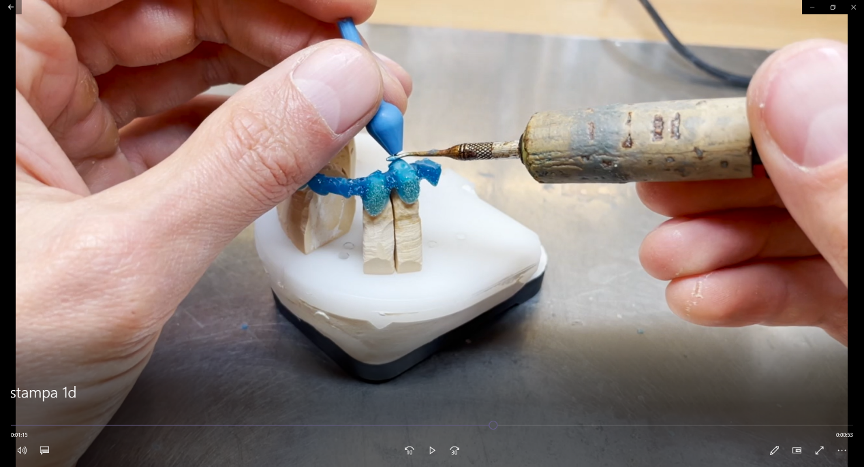
Set sprue & reservoir.
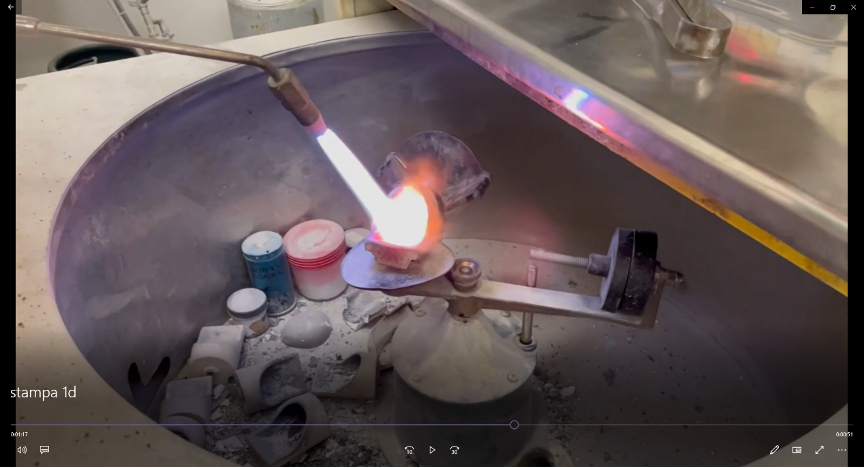
Perform casting with centrifugal casting machine.
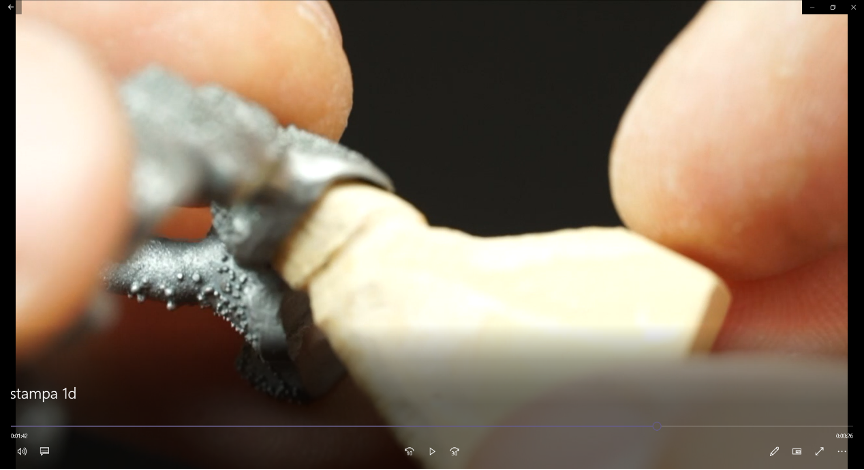
Try the casted metal bridge on the model, as seen, the bridge including the margin will still fit perfectly on the model.