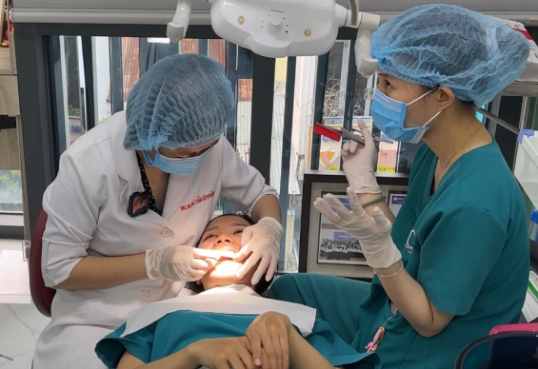
Aoralscan Elite is a new addition to the Shining 3D dental intraoral scanners family. Besides its outstanding feature in all-on-X implant scanning thanks to the photogrammetry, it also performs superbly in normal applications. Today’s case comes from Dr. Nguyen Tran Kim Hoang, MSc, DDS, of Quốc An Clinic in Ho Chi Minh City. She shared her experience regarding the integration of Shining 3D’s Aoralscan Elite intraoral scanner and SAM’S Axioprisa digital articulator in the treatment of temporomandibular joint disorder (TMD) using occlusal splint, enhancing patient care and treatment outcomes.
Case Profile
The female patient is 25 years of age, presents with pain and discomfort in the temporal region, mandible and ears. She is unable to open the mouth more than two fingers width and cannot eat effectively.
Clinical examination reveals tenderness in the TMJ joint area. When the patient opens and closes the mouth, the mandible tilts to one side relative to the maxilla. It is found that one can palpate the TMJ sound upon repeated mouth opening three times. Imaging examination in the closed-mouth position shows that the articular disc is displaced anteriorly.
Treatment Process
Scanning with Aoralscan Elite
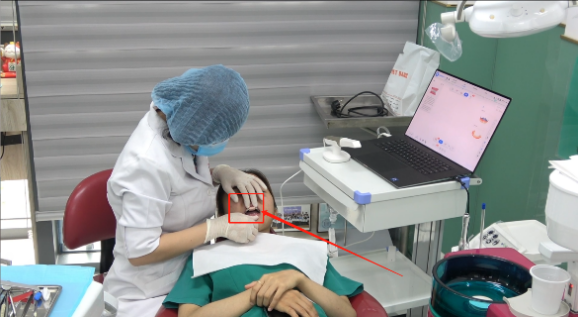
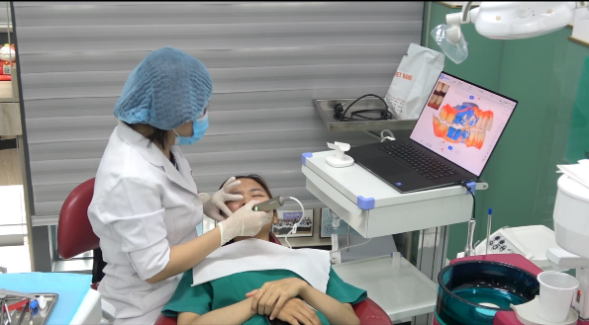
Take the digital impression of the maxilla with Aoralscan Elite. For patients with TMJ disorder, the mouth opening is limited. Most intraoral scanners cannot scan the inside of the mouth easily, especially in the distal molar area. However, the Aoralscan Elite is extremely lightweight and has a small size, which can be easily inserted into the mouth, perfectly resolving this problem. After finishing the upper jaw scan, we can continuously scan the lower jaw.

Fig 1: Upper jaw scan using Aoralscan Elite

Fig 2: Lower jaw scan using Aoralscan Elite
The bite scan should be conducted after the completion of the upper jaw and lower jaw scans. Since the production of the splint requires opening the bite and reserving a certain space, a mouth prop (Anterior Jig) needs to be used and placed in the anterior teeth area, hinged to open the bite to achieve a 1.5-2 mm separation of the posterior teeth, and then the bite on the left and right sides should be scanned. After the bite scan is accomplished, the upper and lower jaws will be aligned.
Fig 3: Place a mouth prop into patient’s anterior teeth to open the upper and lower jaw.
Fig 4: Scan the bite
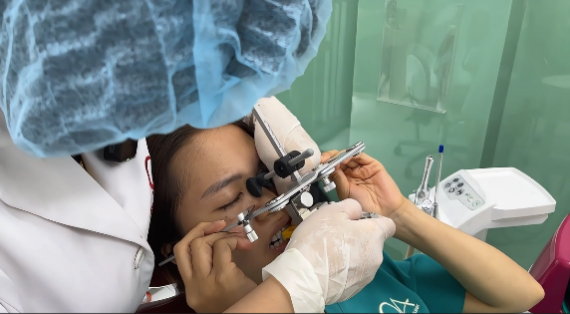
To obtain a more precise occlusion, we require the patient’s dynamic bite. At this point, a face bow is necessary. Adjust the face bow to fit the face and ensure that the bow body does not tilt. After the bite fork is bitten and fixed, we can directly scan the bite fork using Aoralscan Elite. The bite fork and the upper jaw need to be scanned as one piece for the subsequent alignment of the maxilla and the articulator.
Fig 5, 6:Fix the face bow.
Determine the Position in the Articulator
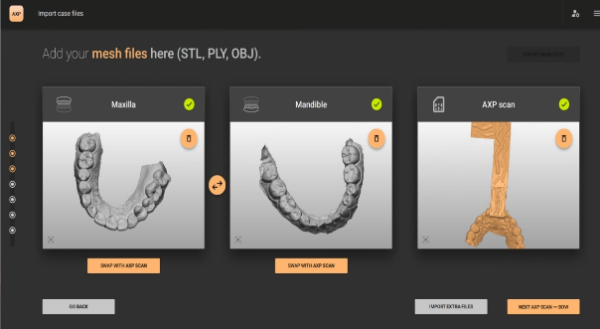
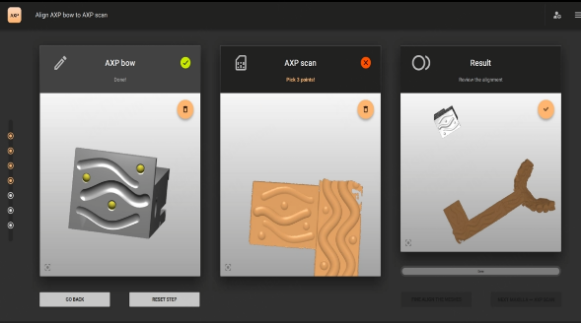
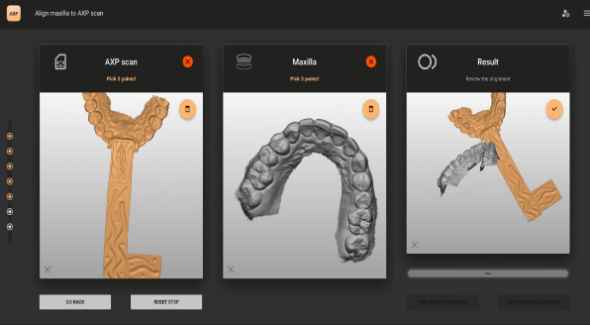
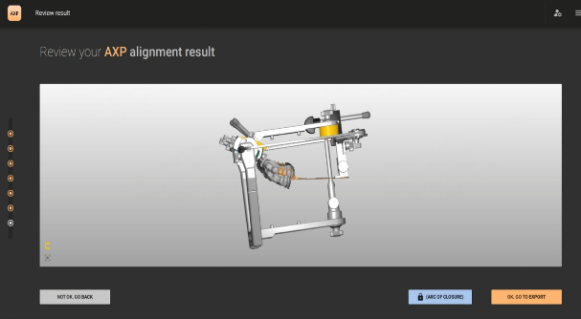
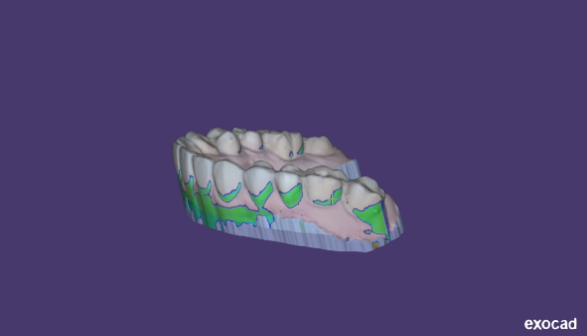
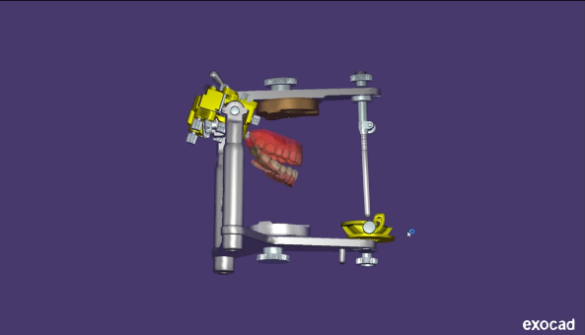
After data capturing, the dentist imported the upper jaw, the lower jaw, and the bite fork into the software. In the software, she carried out the alignment between the upper jaw and the bite fork, then the bite fork and the articulator, to obtain the accurate position of the upper jaw and the lower jaw in the articulator.
Fig 7.8.9.10: Import the data and align them precisely to obtain the accurate position of the upper and lower jaws in the articulator.
Design and Manufacture
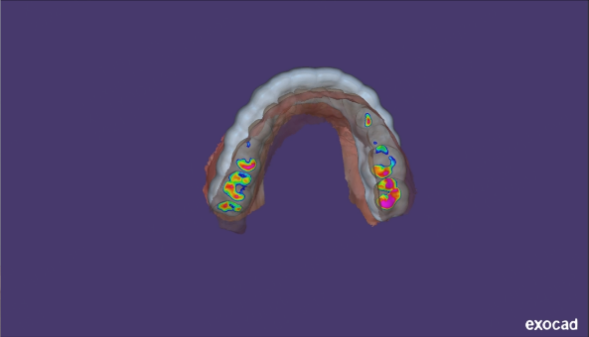
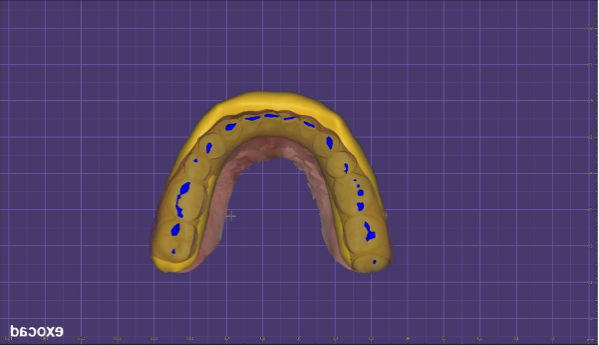
Design the splint in the EXOCAD software based on the CR (Centric Relation) position. Since we have already obtained the accurate position of the upper jaw and the lower jaw in the articulator, we can activate the virtual articulator feature and use the dynamic bite to adjust the occlusion, which can ensure that there is no interference on the occlusal splint when the patient makes jaw movements.
Fig 11,12,13,14: Design the occlusal splint in the exocad.
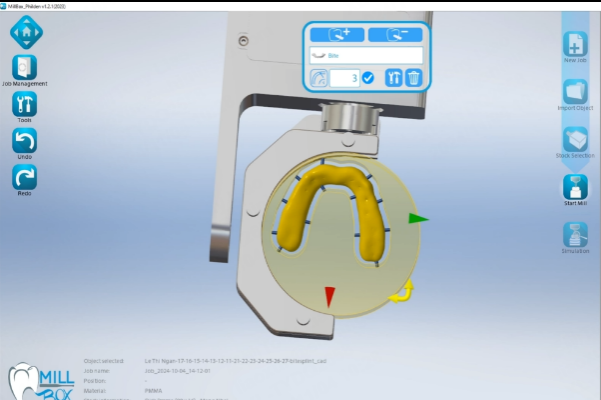
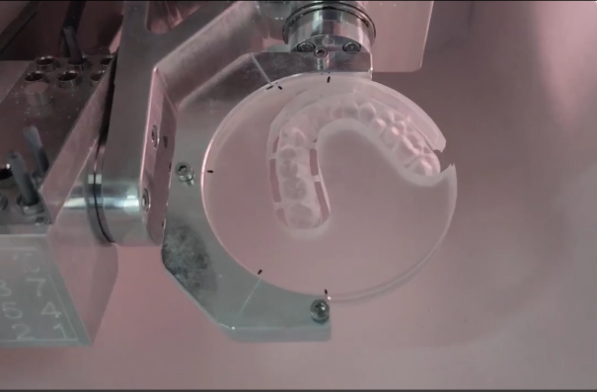
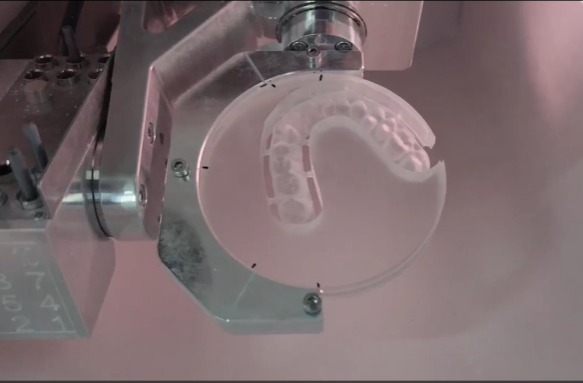
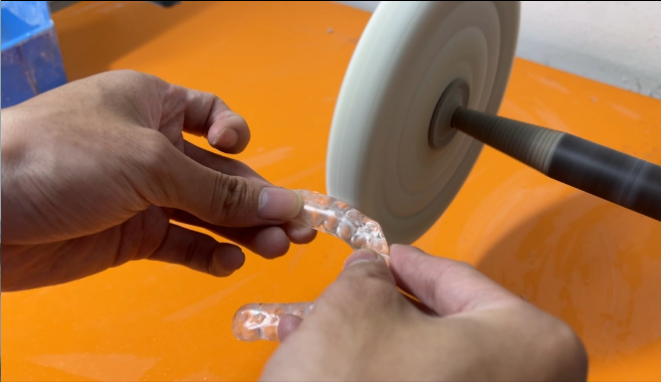
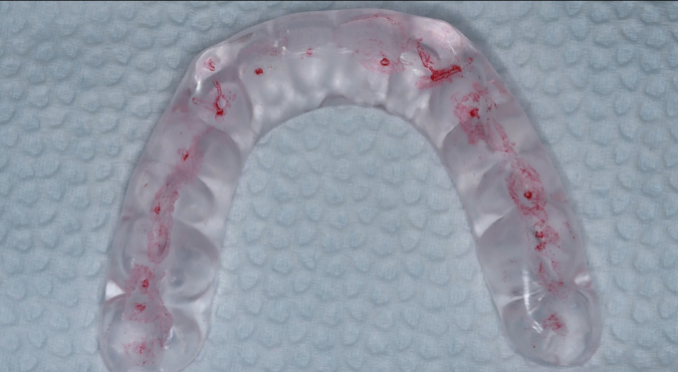
In the milling software, select the corresponding material disk in accordance with the thickness of the splint. Position it properly and add supports, thereafter output the NC file for the milling machine. If you possess a printer and the splint resin material from SHINING 3D, you can straightforwardly print it out. The splint can be dispatched to the clinic for trial after the post-processing operations such as grinding and polishing.
Fig 15,16,17,18: Once the support is added in the software, the milling machine manufactured the splint, and a post-processing procedure is requisite before the trial.
When the splint is tried in the patient’s mouth, it is in uniform contact on the whole arch, and the anterior area has a gentle slope. There is no occlusion interference when the jaw moves.
Fig 19, Fig 20: The final splint was placed in the patient’s mouth, achieving evenly distributed occlusion.
Comments from Dr. Nguyen Tran Kim Hoang
First, it really saves me a ton of time as a dentist when it comes to documenting patient info, especially about the maxillomandibular relationship and occlusion. With Aoralscan Elite and face bow, the whole process is so easy to deal with and it’s comfy for the patient.
Second, the great thing about using digital technology is that you don’t need to do manual articulator mounting anymore. Normally, we’d have to use plaster for that, and it takes time. Just like a lot of other things, there might be mistakes. With the digital workflow, the accuracy is improved.
 ENG
ENG


